Monday, January 27, 2014

American Girl 18" Doll Hangers DIY How To

Greetings and Salutations!

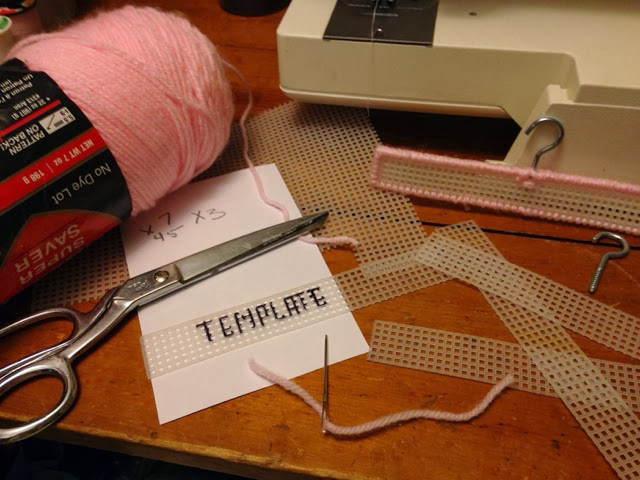
I've been pondering doll hangers lately... We are accumulating a lot of doll clothes and I thought it'd be nice to hang some up. So... Hangers...? I looked on Pinterest and found a great idea of making them out of Popsicle sticks. Great! I have a huge box! Then when is looked at my box, they were the smaller kind and would not work. Being me, I put my mind to other projects and figured I'd get the sticks at some point and try it then. Fast forward to me hanging out on Pinterest looking at American Girl Doll ideas and I came across one that made a doll hanger out of plastic canvas! Have I mentioned I have been crafting a while and never throw out craft stuff? It's all in Rubbermaid bins (as an aside I love Rubbermaid bins!) just waiting to be crafted with. One of my many former crafts was plastic canvas and so I had everything I needed for that idea! 

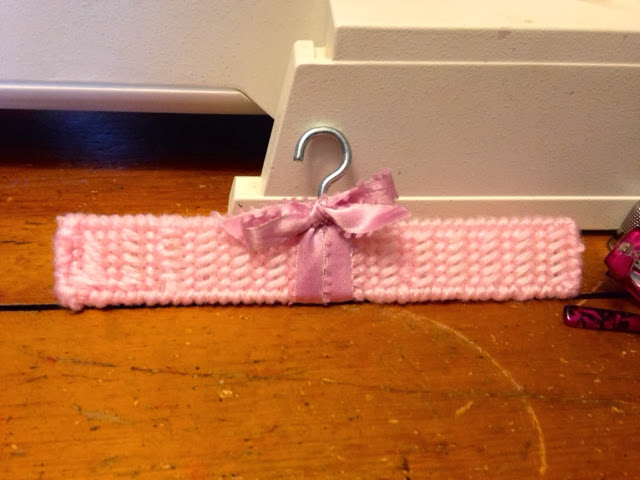
However, the idea with plastic canvas had the whole hanger being made out of the plastic canvas. Three thicknesses of it  to make it sturdy but I've had many plastic canvas items not be really sturdy when you make smaller areas like the hook on the hanger I saw. So... I used both the Popsicle stick and hook idea combined with the plastic canvas idea!! Worked like a charm. Here is the result!

It's pretty strait forward and if you've ever worked with plastic canvas, very easy to make. When I got to the middle, I simply inserted the cup hook there and sort of 'sew' it in there. The threads of the cup hook will be good at holding it in if you stitch tightly around it.
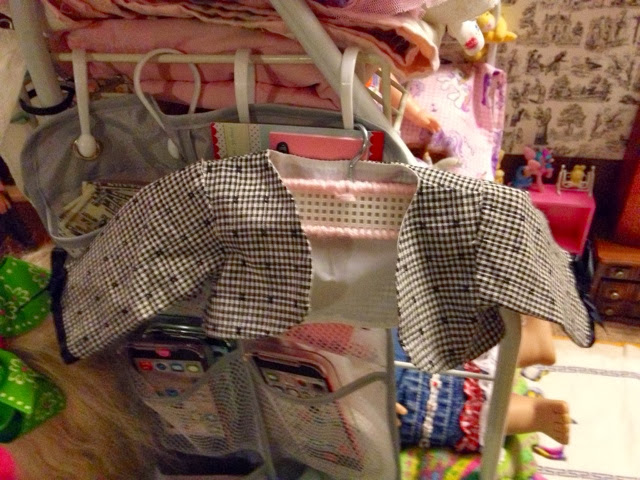
I made a template to make it easier to cut out future hangers. The measurements are 7 by 45. I count the bars and not the holes so I guess if you count holes it would be 6 by 44. Cut three and stitch them together at edges. I will probably fill in future hangers in middle with pretty patterns but for now they are simple and functional. Here are a couple photos of items on hanger. 

Update 2/2/14
I finished off a hanger by stitching in middle and adding ribbon. Makes it look more like a padded hanger! 


Sunday, January 19, 2014

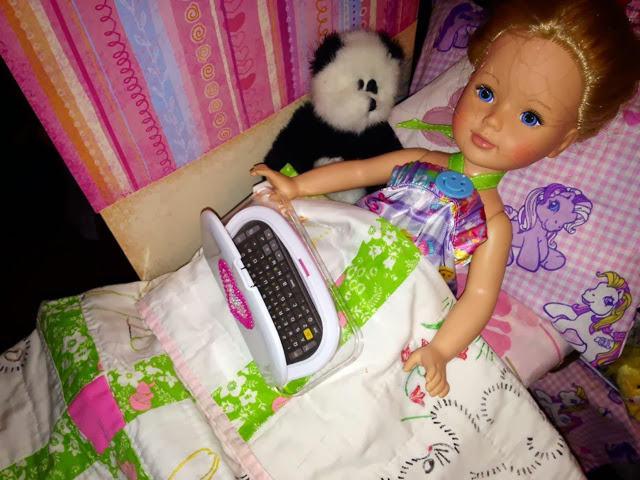
American Girl 18" Doll Upcycled Laptop from Diaper Wipe Package

We made a laptop today!


Here is what we did:

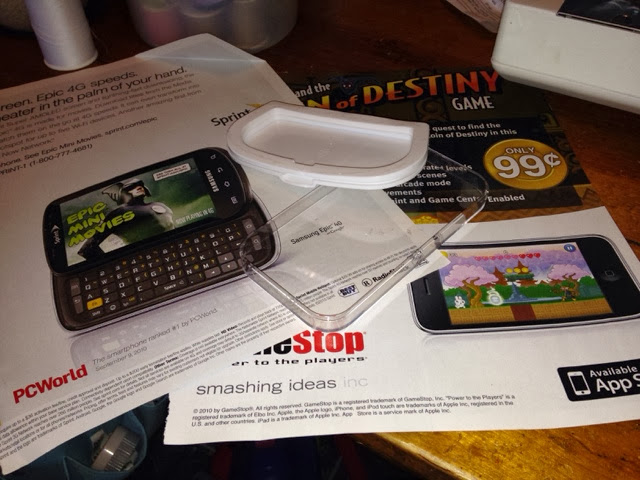
The ingredients! Pages from Game magazine for pictures, plastic closure portion of disposable wipe package, fun foam, glue stick, clear plastic piece from iPod packaging and Stickers.


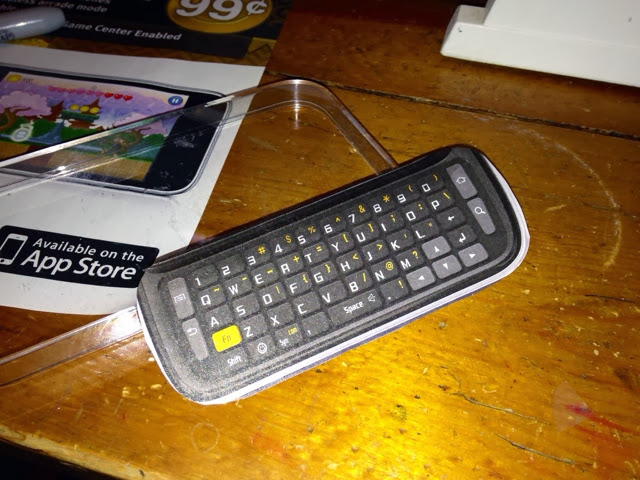
Cut out keyboard photo from magazine.
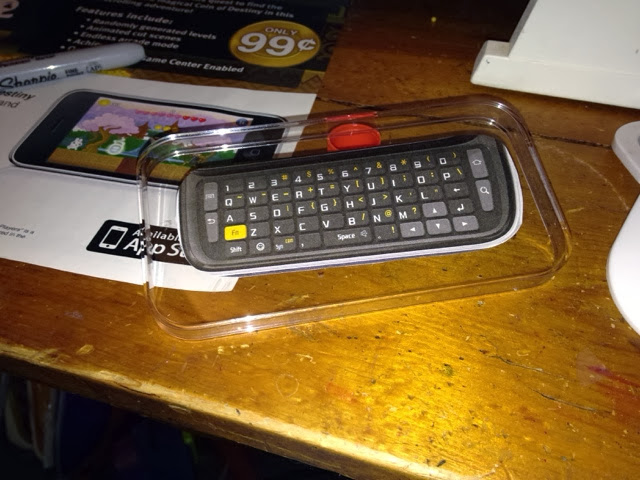
Glue to clear plastic part of iPod packaging. (You could also use other clear plastic packaging. Perhaps a cassette tape box etc)
Glue plastic part from wipes package over keyboard and glue photo of choice in spot for your monitor display. (Take the sicker off the plastic part and just rip it right off the packaging, it will even have glue around where you need it altougb I added more)
Add fun foam back to cover up the back of the advert you gleaned the keyboard from. 

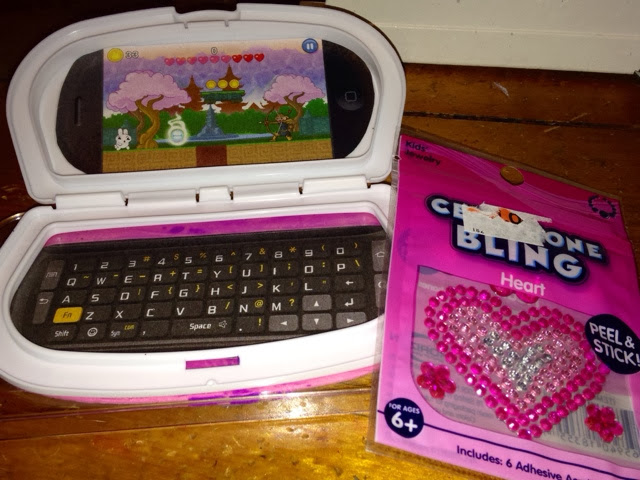
Add some fancy stickers!

And done!

Thanks for dropping by! See you next time I hope! XOXO


Room Additions to American Girl Doll Background!

A picture is worth a thousand words, so here are several thousand to tell about our room additions to our American Girl Doll Room Background!


Our original background:


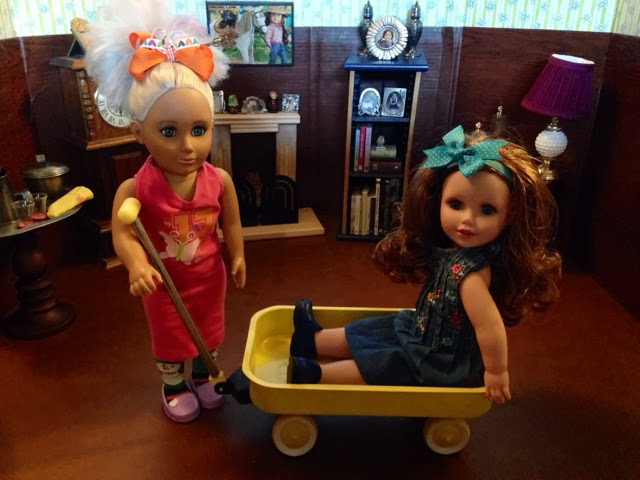
Now with room additions:

A play by play of how I made them:


American Girl 18" Doll Thrift Store Scores!

Have to come and show off my latest Thrift Store Scores!

A little wagon for $3!

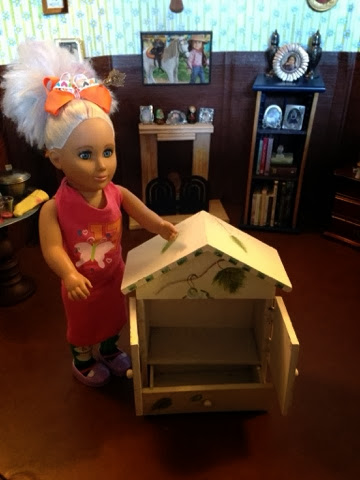
 A little cabinet I am not sure if I'll use as a kitchen cabinet or a closet but it was too cute not to pick up for $5!


Then it saw this cute hat box! It was cute enough just as the hat box but low and behold...


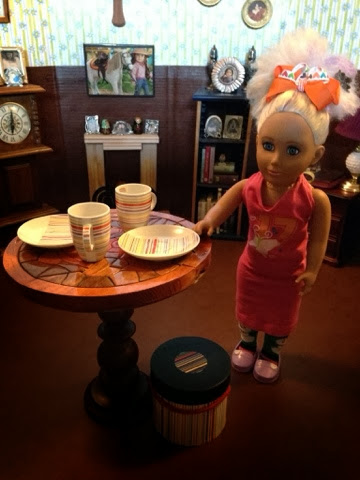
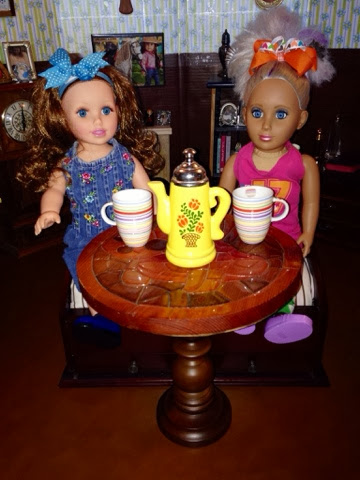
It had these adorable dishes inside!! Brand new!! It was marked $3 but was half off! Score!

I also found this cute vintage Avon perfume bottle shaped like a little pitcher in clearance section for $1!


I've been looking for a jewelry box shaped like a dresser to go in the 'bedroom' part of the dolls house. I found this one on half off but it was a bit short. It was only $2 and so I decided to put it in my cart and consider how I might use it. 


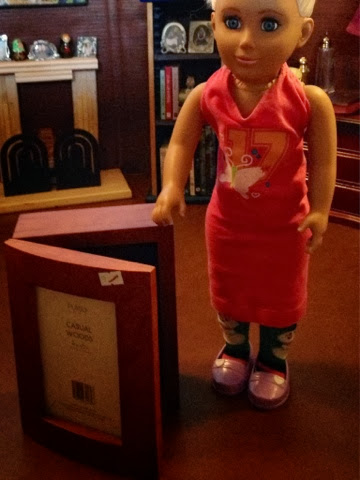
Then I saw this wood photo frame.


It was also $2 and looked, to me, a lot like a bathroom cabinet, if I replaced the photo with a mirror. So in the cart it went.  After I got them both home, I, quite by accident, set the frame on top of the jewelry box. Hey....!
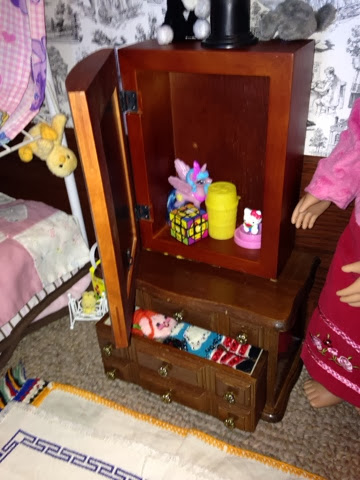
I wood glued the lid of the jewelry box shut and wood glued the frame on top of it. Figured I only had $4 invested, if it didn't work out, not much lost.


I like how it came out though! I'd like to either paint it or stain it so the wood will match better but not bad for a $4 dresser! 


Well that's it for now! Thanks for dropping by! See you next time I hope!
XOXO


American Girl Doll 18" Doll Bench Upcycled From Bill Box

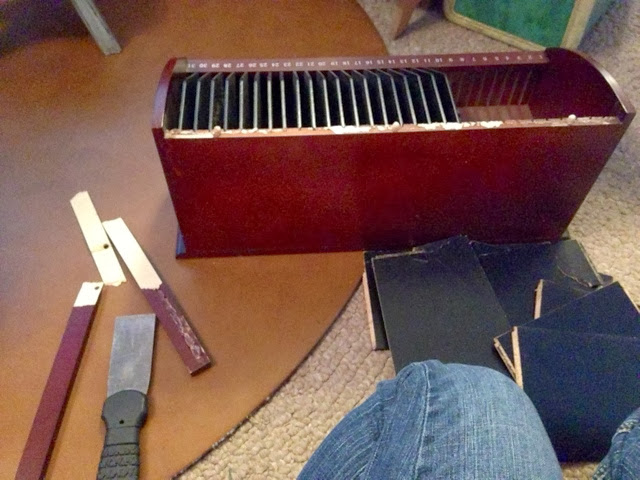
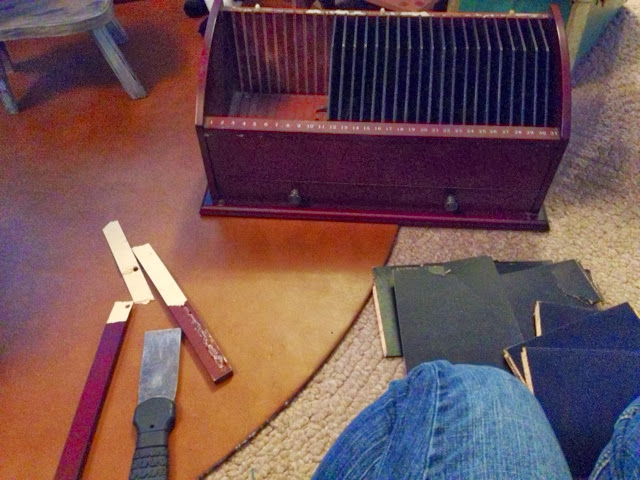
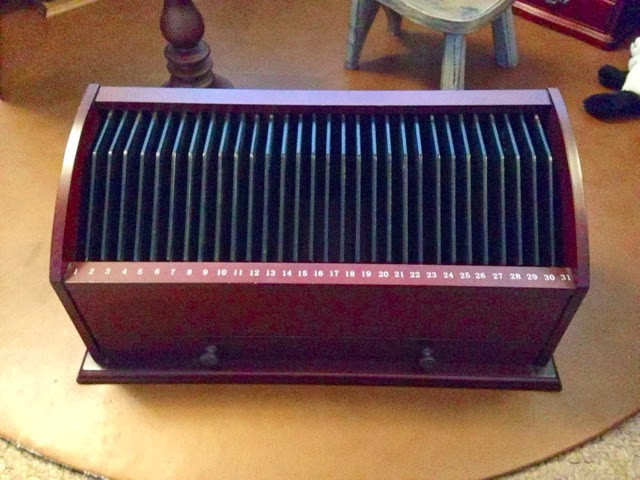
Upcycled Bench I upcycled from a bill sorter we owned but never used. I had put it in the pile for Goodwill but then glanced at it and noticed it was a nice heavy wood piece. Hmmm...

 It reminded me of those fancy wood benches if I could only get those slats out.

I had nothing to lose since I had planned to just donate it anyway so it made me bold. Bold enough to just pry into the wood holding the slats in off with a putty knife. It came off in three pieces but I got it off! 

To get slats out, I had to break them but once they started coming out it went really quickly. 

Now I needed a cushion... 


I still had leftover bumper pad that I had kept to try and make a couch or chair or something...

Perfect!!


Pretty good for something I was just going to give away!

Thanks for dropping by! See you next time I hope! XOXO


Wednesday, January 15, 2014

The Latest Upcycle Projects From the Sewing Machine


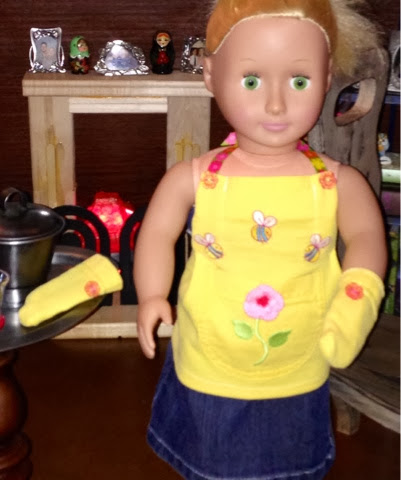
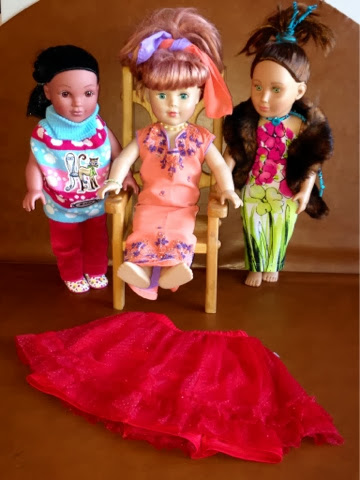
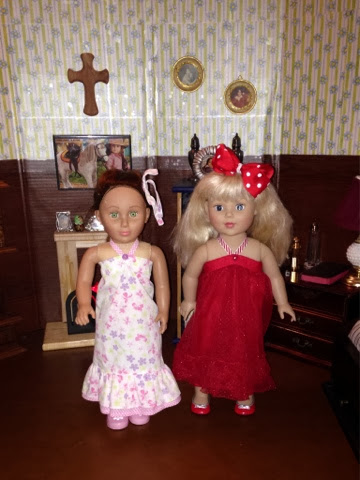
YI've been busy at the sewing machine lately... Hence my missing posting here for the last couple days. I am discovering that when you write a blog, you actually have to have something to write about! Kind of like when you were putting a scrapbook of photos together, you can't make the scrapbook if you don't have the photos! So naturally you have to take some time away from writing and lives something worth writing about. Eh? But I digress, back to the sewing machine! Here are a few recent upcycled items!