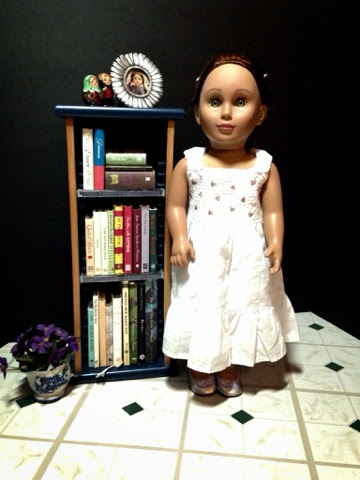
Here is the finished dress!!
The original dress, a newborn size sundress.
I am not real scientific about this honestly, I just try it on the doll and kind of pinch where it looks like it would fit pretty well on both sides and mark that place with pins.
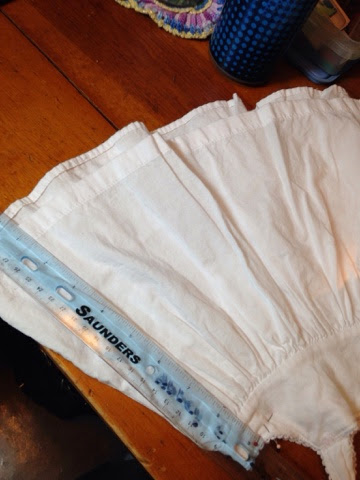
Then I take a ruler and make a strait line, being sure to pull all layers and everything very strait so it will lay right. You get a feel for this I think but I make a line to sew down cos it helps me.
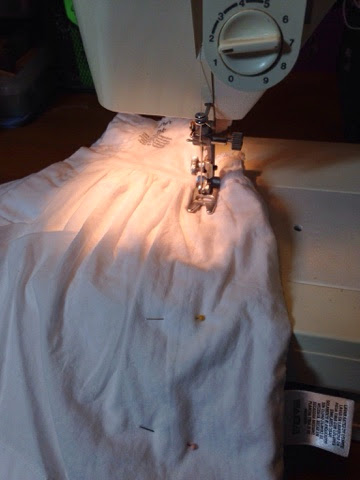
Then you pin down the line as you would if you were sewing a regular outfit seam.
Then sew down your line taking pins out as you go so you don't break your needle.
Can you see the seams on both sides? Time to try on for fit!
Looks good, need to tighten the shoulder straps. Forgot to photo that process but you just pinch together where it falls right and pin it and sew a strait seam. You can see the seams I made in the straps in next photo. I literally zip across them about three times so it can be played with without worry of it ripping.
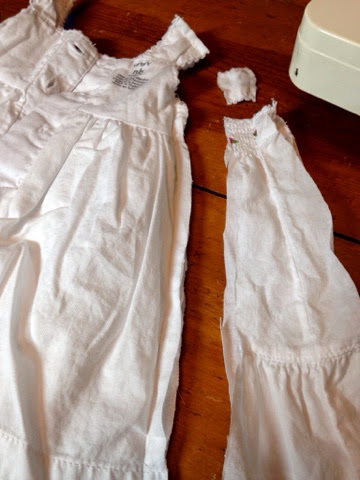
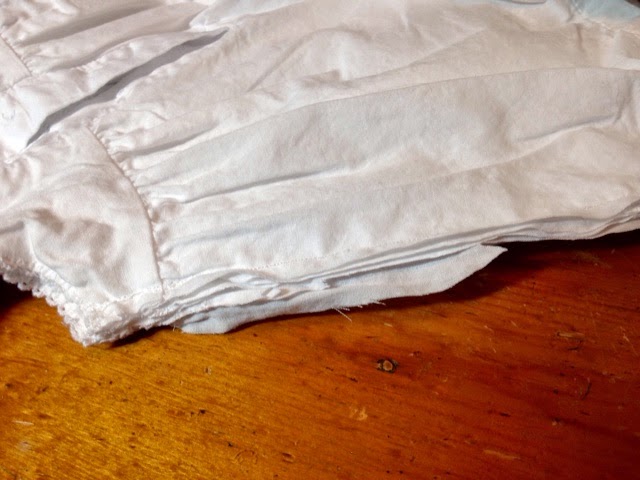
Moment of truth! Well, almost. This part always freaks me out. Trim off the excess fabric leaving a healthy seam allowance!! I leave like an inch out from the seam just to be safe.
See? Just cut it off.
Some of the edges may be a bit wonky if you have a four layered dress like this one but it looks good on outside and I don't trim too much closer because I like to leave good seam allowance!
There you have it! For 99cents and about an hours work (if you're a perfectionist like me and slow going!) you have a pretty smocked American Girl Doll Dress!!
**Update February 16, 2014**
Hello Doll Friends!!
Just made over a couple more items into doll dresses. The first one I did almost exactly like the one above only the shoulders had straps which I was afraid, if I sewed them together, they might pull apart from being played with. I think doll clothes should be able to be played with pretty roughly, by kids, or what's the point? It's doll clothing! I digress... So on this purple dress I simply cut the straps and knotted them on top. Thought it turned out pretty cute.
I made this:
From this:
A 12month size baby sun dress I got at thrift store for 50c. Not a bad deal. Took about a half an hour to make over because I am slow and methodical (measure twice!) and it takes me a few minutes to get settled into my machine.
The back of dress:
Then I made this:
Yellow mocked neck sun dress with matching scrunchie.
The back:
From this:
A 9mnth size baby onesie. See how the top of the dress is already there?
I noticed after I looked at it with my good light that the item had a stain... Oh bother... Luckily it was on the bottom portion of the outfit and while it forced me to make the dress a bit shorter than my original inception, it worked out cute enough. It worked much same as with dress except you have to cut out the bottom snappy portion of the outfit. I ended up using one of the leg bands as the scrunchie because I like to use as much of original item as possible since I have it anyway and ensembles are always more fun! So anyway, cut out end of outfit:
See above photo? You can kind of see stain in it. It has all leg band and crotch of outfit all cut out.
Now you need to hem it into a dress. I altered it into a dress first and then altered the arm holes as if it'd been a dress all along (see above). So I chose where to put my hem (or rather the choice was taken out of my hands due to stain) and I made a pencil line strait across. Remember to make sure both layers of outfit are smooth and flat before cutting!! Then I cut strait across. (I hold breath every time I do this... Haha!) Then I simply hemmed it and finished off same as I did the dresses above.
All in all, am happy with the way they turned out! So much fun making something out of nothing... Or sort of. Cost of both dresses this evening, not including my time, was about $1. Love that!
Thanks for stopping by again! Have a great day!!

